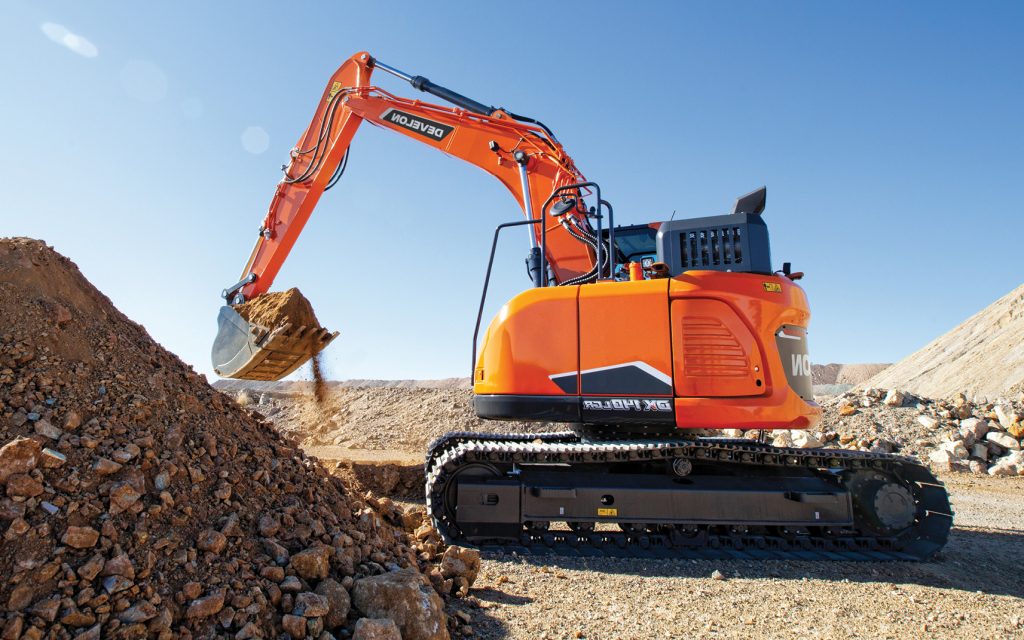
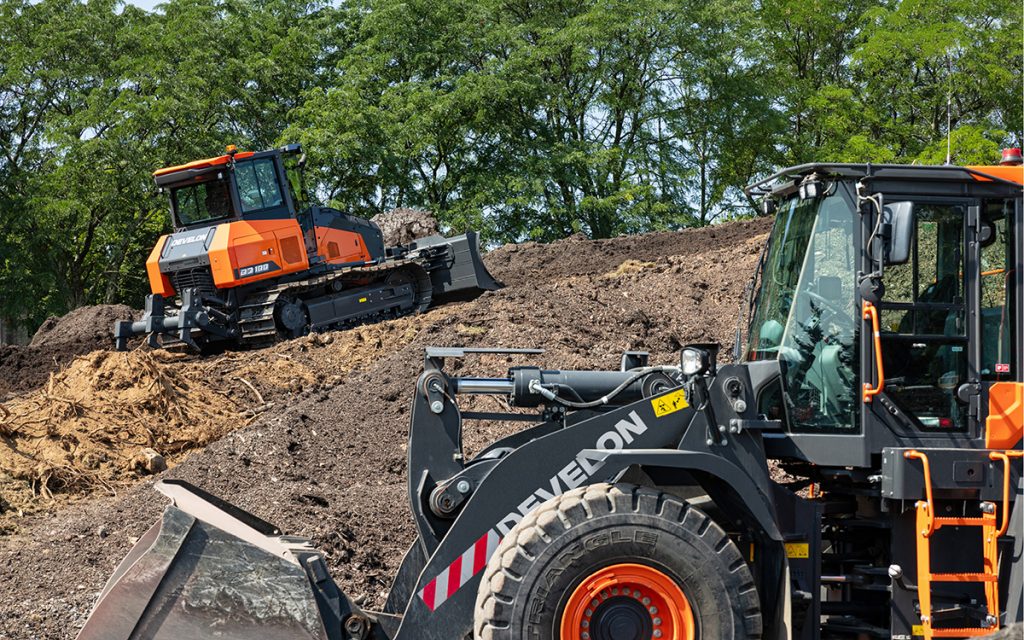
Machine Stable is an authorized distributor of the DEVELON brand under HD Hyundai.


On-Site Construction Experience: Maintenance Records of Excavator and Loader Core Hydraulic Components
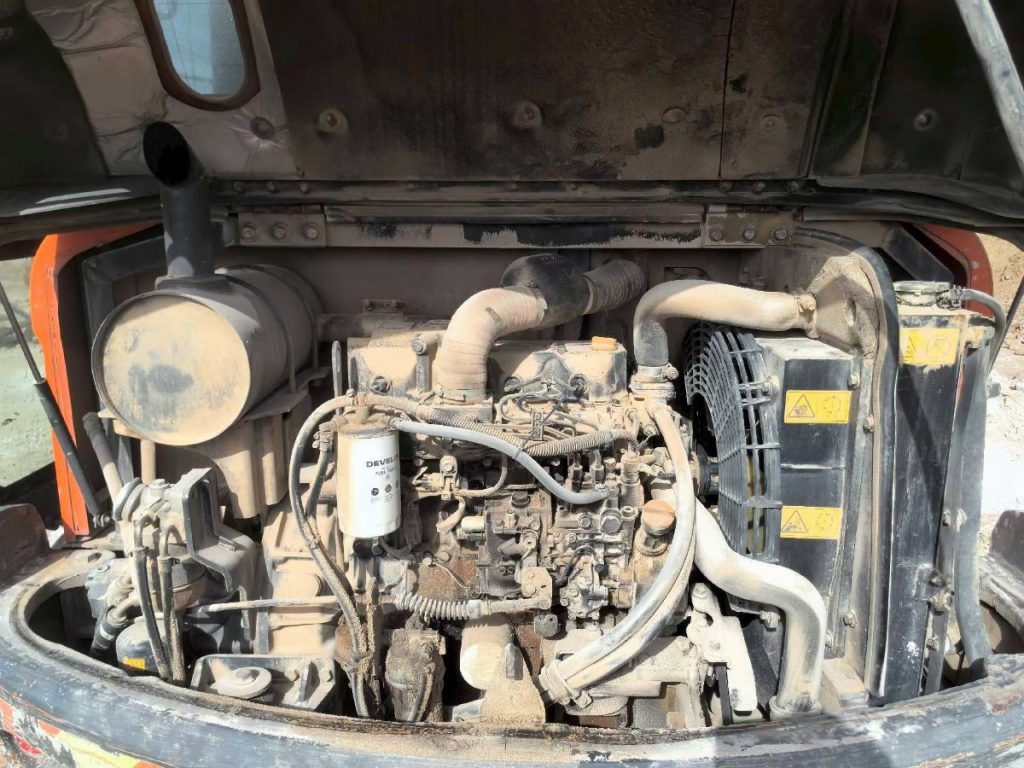
Honestly, over my years operating excavators—especially mini excavators—I’ve noticed that a lot of people completely overlook the excavator pilot control valve. I learned the hard way. One day, my valve started leaking, and the boom hesitated. Watching hydraulic oil drip while trying to dig felt like seeing money pour right out of my pocket. Let me walk you through what I’ve learned—from inspecting to replacing the valve—and the mistakes you’ll want to avoid.
“The pilot valve might seem tiny, but it literally controls the heart of your hydraulic system. Ignore it, and your schedule—and wallet—will suffer.”
1. Why the Pilot Valve Matters
The excavator pilot valve directs hydraulic oil to the boom, arm, bucket, and travel motors. Think of it as the “brain” of the system. If it’s worn, misaligned, or leaking, your machine will respond sluggishly—or worse, stop working entirely.
From my experience: keeping a simple inspection log and noting any leaks or strange behavior can save a ton of headache later. Even tiny leaks caught early prevent expensive repairs.
2. Early Warning Signs
Here’s what I noticed with my mini excavator pilot valve when things started going wrong:
- Tracks move forward or backward a little sluggishly
- Boom and bucket respond slowly
- Tiny oil stains near the valve
- Joystick makes a faint hissing sound
Pro tip: spotting issues early is way better than waiting for a full breakdown.
3. Prep Before Maintenance
Before doing any excavator pilot valve operation, I always make sure I have the right tools and safety gear ready:
Must-Have Tools:
| Tool | Purpose |
|---|---|
| Torque wrench | Tighten hydraulic fittings without over-torquing |
| Screwdrivers & pliers | Remove panels and clips safely |
| Hydraulic pump | Flush lines and prevent contamination |
| Clean rags | Wipe up spills and keep the work area clean |
| Seal kits | Replace O-rings and gaskets |
Trust me: doing this in a dusty worksite is a recipe for grit in your valve. I learned that the hard way—my boom was sticky for days after one messy job.
4. Step-by-Step Valve Replacement
Replacing an excavator pilot valve replacement might seem intimidating, but if you take it slowly, it’s totally manageable:
- Power down and relieve hydraulic pressure—safety first. I almost forgot this once; not fun.
- Remove floor panels and mats to get access to the valve. Watch out for tiny bolts—they love to roll away.
- Label every hydraulic line, especially P and T ports. One wrong connection and you could blow a seal.
- Disconnect hoses carefully, catching any residual oil in a tray. Don’t let it spill everywhere.
- Remove the valve assembly, keeping all bolts, spacers, and washers organized.
- Inspect the old valve: check for scoring, corrosion, and worn seals. I once missed a tiny scratch and regretted it later.
- Install the new valve, paying attention to orientation. Don’t force it—it should slide in smoothly.
- Reconnect hoses, torquing them to the manufacturer’s specs.
- Test under light load, moving the boom, bucket, and tracks slowly. Check for smooth operation and leaks.
When sourcing, make sure the excavator pilot valve for sale matches your machine exactly. Even small differences can mess up performance.
5. Choosing Valves and Suppliers
Finding a reliable excavator pilot valve supplier is crucial. Here’s a quick summary:
| Source | Pros | Cons |
|---|---|---|
| OEM | Perfect fit, very reliable | Expensive |
| Aftermarket | Affordable, easy to get | Quality varies; verify first |
| Wholesale | Low cost for multiple machines | Inspect carefully; can be hit or miss |
When I bought a wholesale excavator pilot valve, I spent a few hours checking seals and fittings—it saved me from a nasty surprise later.
6. Disassembly Tips
During pilot valve excavator disassembly:
- Loosen mounting bolts slowly; support the assembly so it doesn’t fall
- Disconnect hoses systematically; I take photos to remember positions
- Remove control handles and check for wear or slight deformation
Pro tip: dab a little anti-seize on bolts so they won’t jam or break on reinstallation.
7. Cleaning and Inspection
Once the valve is out, I check:
- Spool and sleeve for scratches or corrosion
- Seals and O-rings for brittleness or deformation
- Valve housing for cracks or excessive wear
Even tiny debris can make the pilot valve on excavator sluggish. Clean thoroughly!
8. Installation Tips
When reinstalling:
- Make sure P (pressure) and T (return) are correctly connected. Wrong installation can destroy the valve.
- Torque all fittings according to the spec.
- Reinstall the control handles and test movements.
Pre-Operation Checklist:
- No visible leaks
- Smooth joystick response
- Tracks and implements respond consistently
Proper excavator pilot valve operation ensures the machine works like new.
9. Testing and Validation
After assembly:
- Run light load tests in a safe area
- Check hydraulic pressure and responsiveness
- Inspect connections for leaks
Testing Table:
| Test | Expected Result |
|---|---|
| Boom movement | Smooth and consistent |
| Track travel | No hesitation |
| Hydraulic pressure | Within spec |
| Valve temperature | Normal |
Tiny inconsistencies usually mean a seal or spool isn’t fully seated—adjust before putting it under load.
10. Routine Maintenance Tips
To prolong the life of a mini excavator pilot valve:
- Inspect for leaks weekly
- Replace hydraulic oil every 500 hours
- Clean valve screens monthly
- Keep a maintenance log
Consistent care keeps the valve running efficiently for years.
11. Cost Management and Value
Replacing valves:
- OEM is perfect but expensive
- Verified aftermarket parts offer good value
- Choosing a reliable excavator pilot valve supplier avoids emergency repairs
Cost Comparison Table:
| Option | Cost | Reliability | Notes |
|---|---|---|---|
| OEM | High | Excellent | Long lifespan |
| Aftermarket | Medium | Good | Verify fit |
| Wholesale | Low | Variable | Inspect thoroughly |
Conclusion
- Early inspections prevent bigger problems
- Documenting operation and replacements helps schedule maintenance
- Choosing a trusted excavator pilot valve for sale source is essential
- Keep the workspace clean to avoid hydraulic failures
Replacing and maintaining a pilot valve on excavator is more than just mechanical work—it’s planning, precision, and proactive care. Follow these steps, keep records, and source reliable parts to prevent downtime, save costs, and ensure long-term smooth operation.
If you need trusted suppliers or advice for mini excavator pilot valve and related parts, I can provide verified options to keep your machine running efficiently.