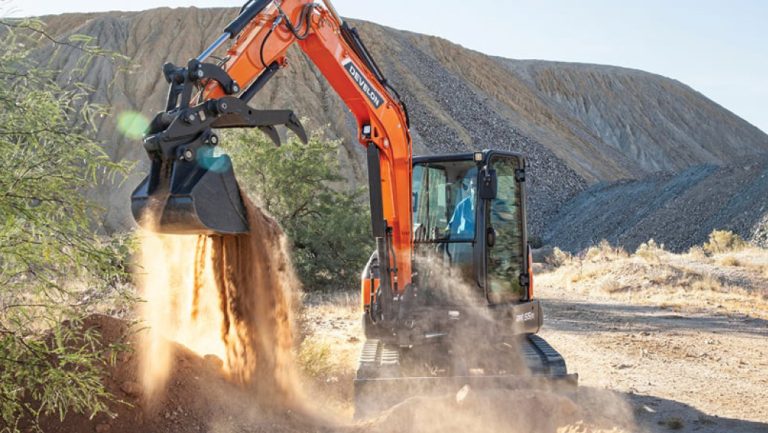
Machine Stable specializes in complete excavators, loaders and their attachments.


Learn Seven-Step Construction and Six Advantages of Rotary Rigs
Seven-Step Construction Workflow and Six Key Advantages of Rotary Drilling Rigs
From years of working in foundation engineering, I’ve realized that rotary drilling rigs are not just machines—they are critical partners on every site. Their combination of speed, precision, and safety makes them ideal for deep foundations, bridges, and high-rise buildings.
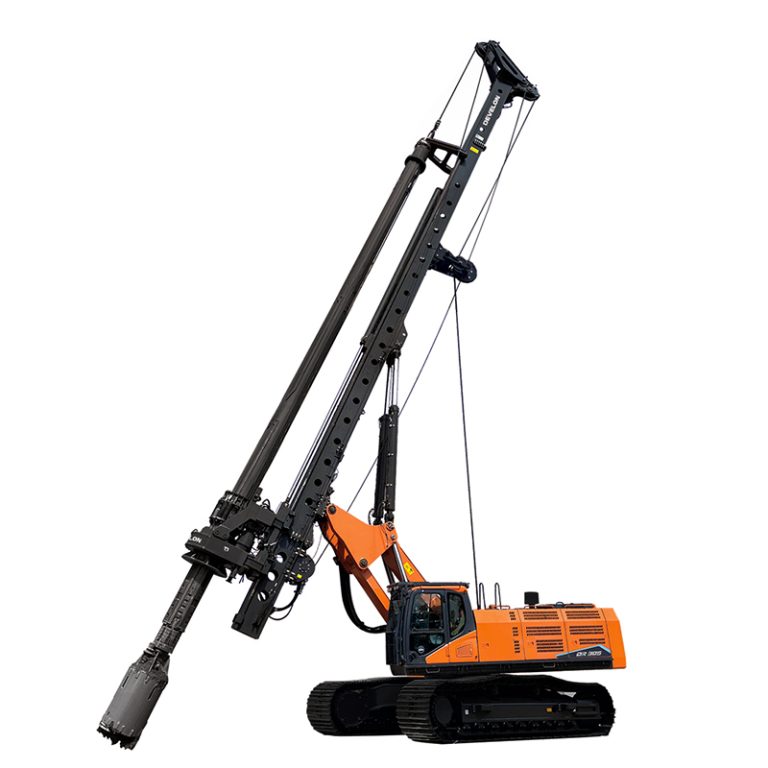
1. How Rotary Drilling Rigs Operate
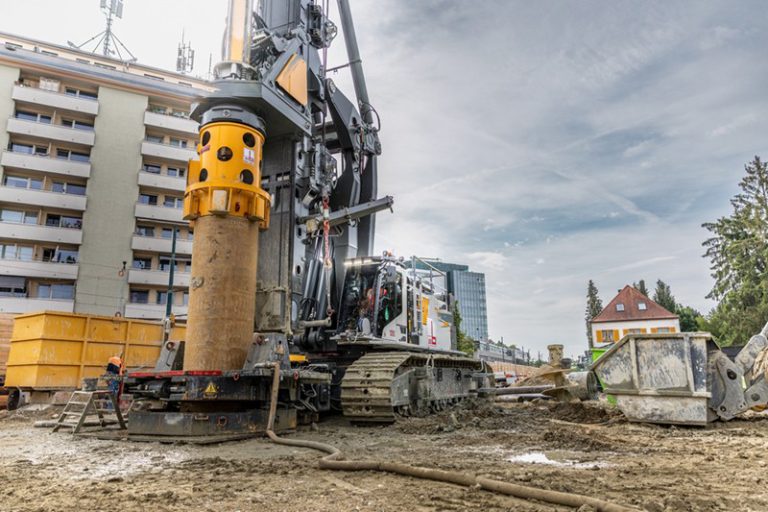
A rotary drilling rig machine works with a bucket-type cutter that rotates and breaks soil or rock. Excavated material is collected in the bucket and lifted out, repeating until the target depth is reached.
I once observed that a small misalignment during the first cycle caused minor sediment buildup. Adjusting rotation speed immediately resolved the issue.
Using a rotary table drilling rig, this process is smooth and continuous. Minimal vibration protects the hole and reduces operator fatigue.
2. Selecting the Right Drilling Method
Soil conditions are key to choosing the right method.
Dense, cohesive soils:
- Dry or water-assisted drilling is sufficient.
- Minimal mud is needed.
- A rotary foundation drill rig works efficiently.
Loose or water-bearing soils:
- Protective mud support (bentonite slurry) is necessary.
- Maintain slurry density around 1.05–1.10 g/cm³.
- Monitor with rotary drilling rig components to prevent collapse.
“On one river bridge project, careful mud adjustment prevented a 1.2 m diameter pile from collapsing.”
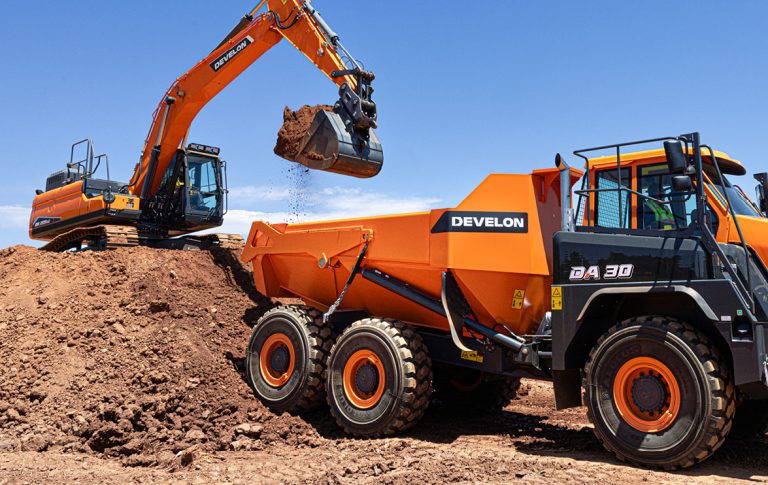
3. Seven-Step Construction Workflow
Here’s how I handle it step by step, based on practical experience.
Step 1: Pile Spot Verification
- Confirm coordinates using benchmarks and control points.
- Lock coordinates electronically to ensure accuracy.
- Tip: Even a 2–3 cm deviation can affect structural integrity.
Step 2: Casing Installation
- Align casing with the pile spot and ensure verticality.
- Backfill with clay to stabilize.
- Experience: Misalignment here is hard to correct later.
Step 3: Rig Setup
- Level the rig carefully.
- Hydraulic rotary drilling rigs offer auto-centering features.
- Drill rods must remain vertical.
Once, on a multi-pile site, a slight leveling error caused minor deviation, which was corrected by adjusting the jacks.
Step 4: Drilling
- Circulate mud, monitor density, and operate the bucket cutter steadily.
- Track depth, diameter, and sediment using instruments from a rotary drilling rig manufacturer.
- Tip: Check mud density every 30 minutes, especially in deep or water-bearing holes.
Step 5: Reinforcement Cage Placement
- Lower steel cage with multi-point lifting.
- Use guides to prevent tilting.
- Weld large sections on-site.
- Experience: Coordination with crane operators prevents misalignment.
Step 6: Tremie Pipe Installation
- Place pipe about 0.3 m above hole bottom.
- Pour initial concrete to cover the base fully.
- Avoid air pockets for consistent quality.
- Rotary drilling rigs for sale ensure smooth placement even in challenging conditions.
Step 7: Concrete Pouring
- Pour in controlled cycles, gradually lifting the pipe.
- Minimum embedment should be ≥0.5 m.
“Following these steps carefully saves time and ensures structural integrity.”

4. Six Key Advantages of Rotary Drilling Rigs
- High Speed: Torque-driven cutters allow 5x faster drilling than traditional rigs.
- Mobility: Tracked hydraulic chassis enable rapid relocation.
- Precise Positioning: Auto-centering, verticality sensors, and GPS improve accuracy.
- Automation & Monitoring: Real-time tracking of depth, torque, verticality, and mud reduces human error.
- Safety & Environmental Benefits: Low vibration, low noise, and recyclable mud reduce environmental impact.
- Minimal Sediment & High Hole Quality: Static mud support and bucket removal produce cleaner, vertical holes.
In my experience, these advantages significantly improve productivity and quality, especially on urban sites.
5. Practical Comparison
Instead of a full table, here’s a simple comparison:
- Drilling Speed: 5x faster than conventional rigs
- Mobility: Flexible hydraulic tracks vs. limited movement
- Accuracy: GPS + auto-centering vs. manual alignment
- Hole Quality: Clean and vertical vs. sediment-heavy
- Noise & Vibration: Low vs. high
- Automation: Advanced vs. minimal
- Environmental Impact: Low vs. higher
6. Construction Checklist
- Verify pile spot and lock coordinates
- Install casing accurately
- Level and stabilize the rig
- Monitor mud density and sediment
- Place reinforcement cage with care
- Install tremie pipe correctly
- Pour concrete gradually and check embedment
“This checklist has saved countless hours and prevented many errors in my projects.”
7. Conclusion
Mastering the seven-step workflow and leveraging the six advantages of rotary drilling rigs ensures safe, efficient, and high-quality pile construction. From my experience, these machines are indispensable for modern engineering projects.